How to Create a Perfect Shadow Band Using 3D Scan Data
Step-by-step insights from an eLUXE3D workflow + embedded tutorial video
Creating a perfectly matched shadow band — a contoured wedding band that hugs an existing engagement ring — is one of the most precision-driven tasks in jewelry design. Thanks to modern 3D scanning technology, this traditionally challenging process can now be completed with unmatched accuracy and speed, allowing jewelers to deliver flawless results and clients to visualize the fit before casting.
In this article, we highlight key workflow steps and professional tips drawn from our featured video tutorial below, guiding you through the essentials of scanning, digital alignment, and CAD preparation.
Why 3D Scanning Matters for Shadow Bands
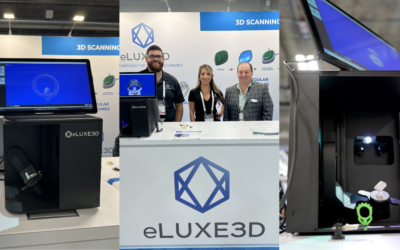
Before any CAD work begins, capturing the true geometry of the engagement ring is critical. Manual measuring tools and traditional molds can miss subtle curves, angles, and undercuts — especially around prongs or stones. A structured-light scanner captures a high-resolution digital twin of the ring down to micron-level detail, providing a clean mesh that becomes the foundation for CAD modeling. YouTube
Step 1: Scan the Ring with Precision
Start by preparing the engagement ring for scanning. Use a stable base and, if necessary, a light scanning spray to ensure even surface capture. A complete 360° scan ensures no detail is lost — especially where the new band will meet the existing ring. YouTube
Step 2: Import and Align the Data in CAD
Once the scan is complete, import the 3D file (commonly STL, OBJ, or PLY) into your CAD software. Align the scanned geometry so that the ring sits in the correct orientation for band design. This step makes a huge difference in how accurately the shadow band will match. YouTube
Step 3: Design the Shadow Band Around the Scan
Using the high-fidelity scan as a reference, build the contour of the shadow band directly around the engagement ring profile. The digital model allows you to visualize and adjust the fit in real time, eliminating guesswork and reducing revisions. YouTube
Step 4: Validate and Export Production-Ready Files
Before exporting, double-check clearances and symmetry in your CAD workspace. Once complete, generate the final STL or OBJ file that will be used for 3D printing or direct casting.